A spin on your favourite pasta.
How To…
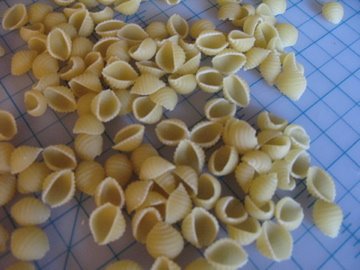
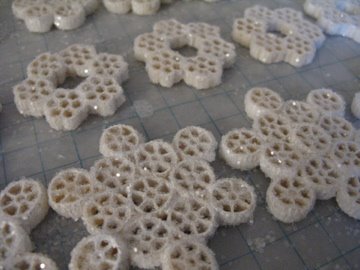
Select your pasta – in this example they use small wagon wheels, small shells, and flower shaped pasta. But the beauty of this, is you can use whatever you have lying around the house.
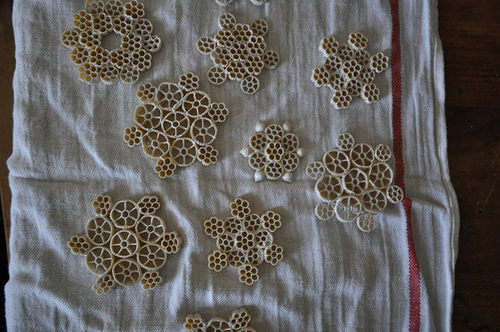
Then, come up with your designs – this part is the most fun. Best way is to spill a few macaronis out and move them around, until you find the most snowflake-like arrangements.
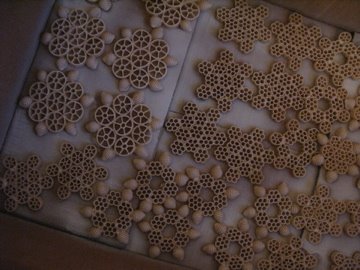
Using a good strong craft glue and a small paint brush, apply glue generously to the edges of the pasta and attach the pieces to make your design. Once they are put together, lay them out on wax paper to dry. Let glue dry completely, making sure to rotate your snowflakes periodically. This prevents them from sticking fast to your wax paper.
Using a large cardboard box, lay out a single layer of the snowflakes. Make sure that they are not touching each other. Spray lightly with glossy, fast-drying white spray-paint. Let dry. Re-apply in light layers, letting snowflakes dry in between, until they are completely coated. Make sure you spray the backs as well. As they are drying, give the box a few gentle shakes to keep them from drying to the bottom of the box.
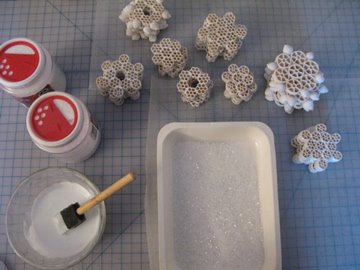
Once they are painted and dried, it’s time to apply the glitter. Thin craft glue with a few drops of water, then use a sponge brush to lightly coat each snowflake with glue. Sprinkle generously with glitter, and let dry completely. Re-apply glitter as needed to cover any empty spots.
Attach a looped length of ribbon or monofilament, and you’re done!
For more Christmas decorations, click here.
Source: http://www.katyelliott.com/blog/2008/12/budget-gifts-ideas-winner.html
Leave A Comment